All Harley motorcycles have a voltage regulator integrated into the bike’s electrical circuit. This component helps maintain a constant voltage, preventing the battery from being overcharged and damaged. But over time, the regulator may become faulty, exhibiting various symptoms.
So then, what are the common Harley Davidson voltage regulator symptoms? Apart from low voltage, a dead battery is another common symptom of a bad Harley voltage regulator. Other signs to watch out for include the lights not dimming, battery overcharging, and sudden loss of power. Sometimes, the bike may fail to start, and the check engine light may come on.
But how do you diagnose symptoms of Harley’s voltage regulator? Keep on reading to find out.
What Are Harley Voltage Regulator Symptoms? [Solutions Provided]
If you suspect your Harley voltage regulator is bad, below are the symptoms to watch out for.
Low Voltage
With the 2012 Harley FLHTC models, you may get a fault code of P0562, meaning low voltage. The gauge may read around 11.8 volts.
In most cases, this is usually a sign of a bad voltage regulator, causing the bike not to charge at idle or when running. This may occur when your bike has less than 2500 miles on it.
- Dead Battery
Your Harley’s battery may die for many reasons, including a broken voltage regulator. If this component burns out, the battery will not receive little to no charge from the alternator. And because of undercharging, the battery may eventually die.
Battery Overcharging
The voltage regulator is built to keep your Harley bike’s battery from overcharging. If the output voltage of your Harley Davidson bike is too high, it could be a sign of a failing regulator. You may spot this sign in the 1997 Harley FXDWG model.
Sometimes, the battery voltage may read 16 volts while the engine is running. Other times, the voltage may read 14 volts when the engine is off. And if you try to crank it, the voltage may drop to 6 volts, yet cranking voltage should not drop below 10.4 volts.
The Engine Does Not Start
With a bad Harley voltage regulator, your bike’s engine may fail to start or take longer than usual to start. This is because the voltage regulator will prevent the battery from charging up. Eventually, the battery will drain, causing your Harley bike not to start.
Lights Dimming
Because of a bad voltage regulator, the lights of your Harley bike, including the headlight and indicator lights, may dim or flicker. The lights may dim intermittently for a few seconds or minutes and then become bright.
This occurs when your Harley voltage regulator cuts the charging voltage and cannot regulate the output voltage produced.
“Check Engine Light” On
With the 2005 Harley FLSTFI, the check engine light may keep coming on occasionally and then go away due to a bad voltage regulator. This may be accompanied by various diagnostic trouble codes that all point to the voltage regulator, including:
- P0563 (Battery voltage out of range)
- B0563 (Battery voltage high TSM/TSSM)
- B10006 (Line accessory voltage is more than 16.0V)
- B1007 (Ignition line voltage is more than 16.0V)
Sudden Loss of Power
Your Harley’s bike sputtering and stalling problems could be a symptom of a bad voltage regulator. Generally, the engine may stall and then start over again after a few minutes.
And when braking, the bike may feel like it wants to die and run rough. Typically, this occurs when the voltage regulator cannot direct enough power to the battery.
How To Diagnose the Symptoms of Harley Voltage Regulator
Like with Harley Davidson electronic throttle control problems, there are several ways to diagnose symptoms of Harley voltage regulator. You could conduct voltage, load, or AC ripple testing. Check them out.
Method 1: Voltage Testing
You only need a multimeter to diagnose the symptoms of your Harley voltage regulator using the voltage testing method. Below are steps on how to perform the diagnosis.
Step 1: Access the Bike’s Battery
Park your Harley bike. Depending on the model of your motorcycle, you can find the battery on the side of the frame or under the seat. Once you locate the battery, open the hood and remove the plastic caps over the terminals.
Step 2: Set the Multimeter to Voltage
If the multimeter is in Ampere or Ohm, turn the dial to set it to DC voltage instead. You can read the instruction manual if you need help determining the voltage setting.
Step 3: Connect the Multimeter to the Battery
Attach the black clamp of your multimeter to the negative terminal on the battery. Then connect the red multimeter clamp to the positive battery terminal.
Step 4: Read the Voltage Readings
The voltage regulator is good if the multimeter reads a little over 12 volts. However, if the readings exceed 14.5 volts, your Harley battery may be overcharged, and the regulator may need to be replaced.
Conversely, your battery and voltage regulator may be faulty if the voltage reading is less than 12 volts. Sometimes, the multimeter may not give a reading because the battery is dead, probably due to a faulty regulator.
Step 5: Turn the Bike On
Turn the ignition key on with the bike in parking mode. Then, rev up the bike and check the readings. The voltage regulator is faulty if the readings don’t go up into the 14 volts range but instead go down around 13 volts or less.
Also, if the readings go over 15 volts, it is a sign of a faulty regulator as long as the stator works.
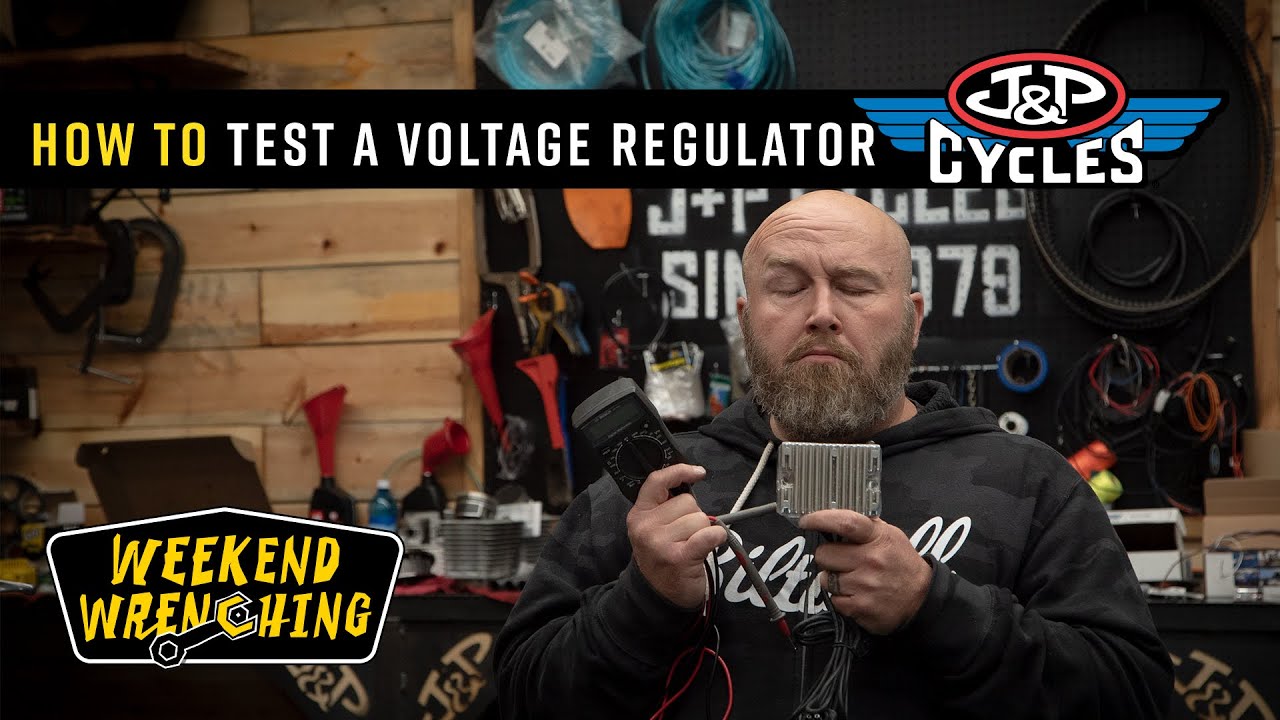
Now, for better understanding of how to perform the voltage testing, watch this video:
Method 2: Load Testing
This diagnosis method involves using a DC light bulb. Below is a step-by-step guide on how to perform load testing.
Step 1: Connect the Bulb
Connect your DC light bulb to the voltage regulator’s output.
Step 2: Rev Up the Engine
Next, get someone to step on your Harley bike’s gas until it reaches 1500 to 2000 RPMs. As you rev more, the light bulb should get brighter and dimmer as you reduce revving. If this does not happen, your Harley voltage regulator is faulty.
Method 3: AC Ripple Testing
Here, you will need an oscilloscope, a tool that displays electric voltage signals. Follow the steps below to perform AC ripple testing.
Step 1: Set the Oscilloscope
Set the oscilloscope to measure AC ripple or ripple voltage with the engine running.
Step 2: Test
Next up, connect the oscilloscope to your Harley voltage regulator’s output. If the voltage regulator works, the ripple voltage should be within limits of about 100mV peak to peak.
How Do You Fix Harley Davidson Voltage Regulator Symptoms?
Like Harley Davidson V-Rod problems, the voltage regulator is easy to fix. You simply replace the voltage regulator, and here is how to do it.
Step 1: Locate the Regulator
For most Harley Davidsons, you can find the voltage regulator right down in the front of your bike. The regulator has fins since it is air-cooled and hence needs wind to keep it cool.
Step 2: Remove the Regulator
- Start by unfastening the mounting hardware holding the voltage regulator to the bike frame using a wrench or screwdriver. Then, unplug it from the regulator lead.
- Next, fish for the regulator wire and snap all the zip ties. Remember where the wire is tucked up to install the new regulator easily.
- Then, remove the battery and battery seat. After that, disconnect the regulator wire from the main circuit breaker.
Step 3: Install the New Regulator
- Place the voltage regulator in the position the old one was and plug it in the alternator lead. Then, screw in the mounting hardware.
- Next, connect the regulator wire lead to the main circuit breaker and secure it to the bike frame using the zip ties. Lastly, install the battery and battery seat.
What Causes Harley Voltage Regulator to Malfunction?
Some of the common causes include a damaged ground wire and a loose battery connection. Sometimes, corroded or worn-out battery terminals and some electrical components overheating may damage the Harley voltage regulator.
Because of these many causes, replacing the voltage regulator may not eliminate all the symptoms. So, you would have to tighten the loose battery connections and replace the faulty components, including the:
- Ground wires
- Battery terminals
- Any damaged electrical wires
And if the battery terminals are only corroded but in good condition, you simply clean the corrosion with baking soda.
FAQs
Now let’s check out some commonly asked queries regarding Harley voltage regulator symptoms.
How much does it cost to replace the Harley voltage regulator?
This depends on your Harley bike model. Generally, the cost of a voltage regulator ranges from $40 to $100. You only incur the regulator fee if you do the replacement yourself.
Can a Harley motorcycle run without a voltage regulator?
Yes. You can ride your Harley bike with a faulty or without a voltage regulator. Of course, this is only possible if your battery has a charge. However, you cannot ride your bike for long because the battery power will eventually deplete.
Conclusion
Overall, many symptoms of Harley voltage regulator exists, ranging from a dead battery to low voltage and battery overcharging. Other symptoms include dimming lights, engine not starting, illuminating check engine light, and sudden power loss.
The good news? You can quickly diagnose these symptoms by testing the voltage regulator. Apart from using a light bulb, you could use a multimeter or an oscilloscope to test the regulator. Replacing the voltage regulator is easy once you have diagnosed the symptoms.